兴国资源网 Design By www.nnzcdc.com
效果图虽然由很多光束构成,不过单一的光束制作非常简单,只需要理清光束的大致轮廓,然后分层逐步制作,控制好图层的不透明度等,就可以做出剔透的叠加效果。
最终效果

1、新建一个1024 * 768像素的文件,背景填充黑色。先来制作光束的主体部分,需要完成的效果如下图。

<图1>
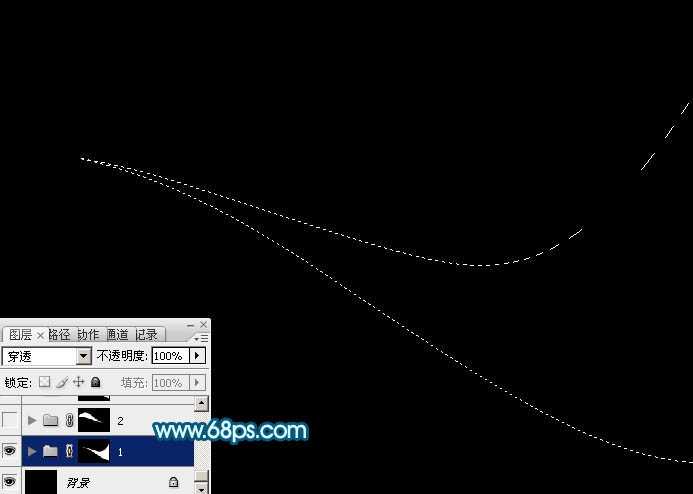
2、新建一个组,用钢笔勾出第一条光束的轮廓路径,转为选区后给组添加图层蒙版,如下图。
<图2>
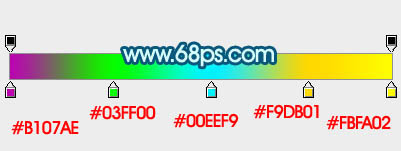
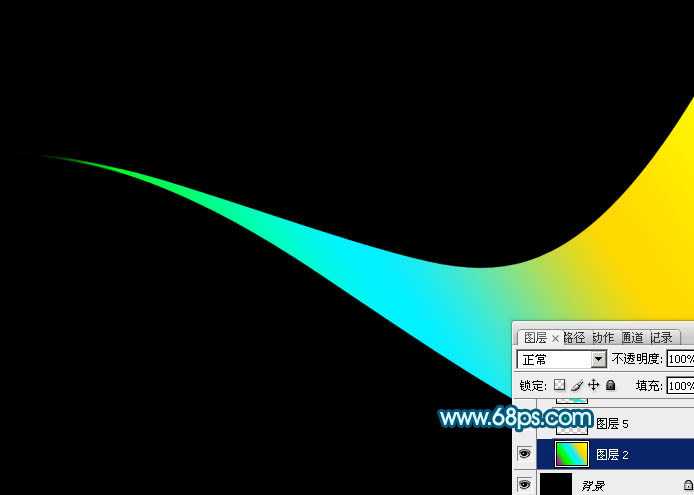
3、在组里新建一个图层,选择渐变工具,颜色设置如图3,拉出图4所示的线性渐变作为光束的底色。这个图层比较重要,后面会重复使用。
<图3>
<图4>
4、把当前图层的不透明度改为:30%,效果如下图。

<图5>
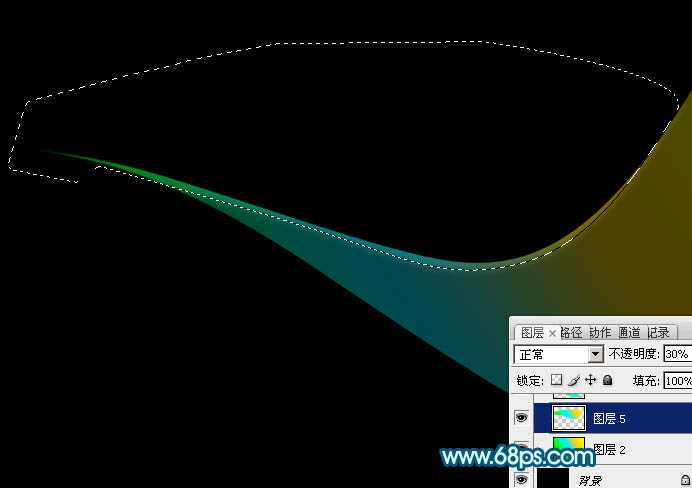
5、用钢笔勾出上部边缘的高光选区,羽化4个像素后按Ctrl + J 复制到新的图层,不透明度改为:30%,效果如下图。
<图6>
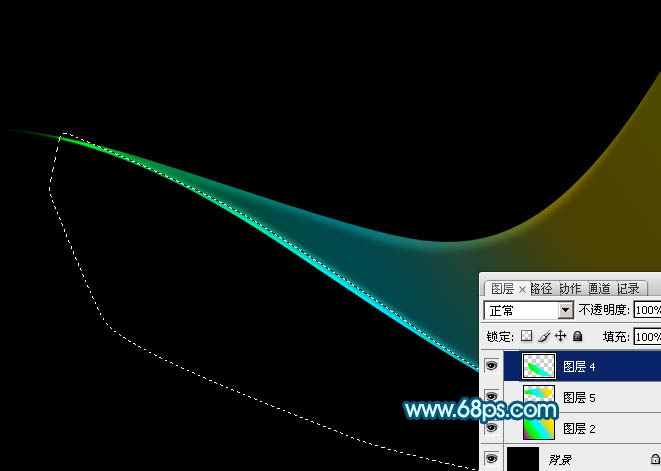
6、回到渐变图层,用钢笔勾出底部边缘的高光选区,羽化4个像素后按Ctrl + J 把选区部分的色块复制到新的图层,不透明度改为:100%,效果如下图。
<图7>
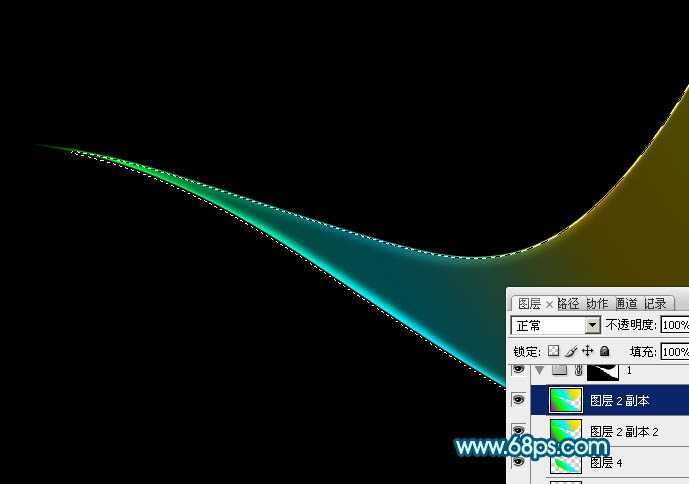
7、调出当前组蒙版选区,切换到选框工具,把选区稍微往下移2个像素,按Ctrl + Shift + I 反选,回到渐变底色图层,按Ctrl + J 把选区部分的色块复制到新的图层,效果如下图。
<图8>
8、第一条光束完成的效果如下图。

<图9>
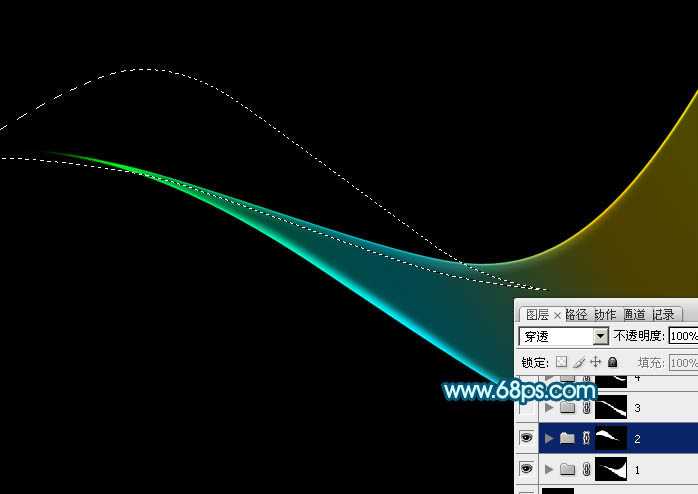
9、选择底色渐变图层,按Ctrl + A全选,按Ctrl + C 复制。然后新建一个组,用钢笔勾出第二条光束的轮廓,给组添加图层蒙版,如下图。
<图10>
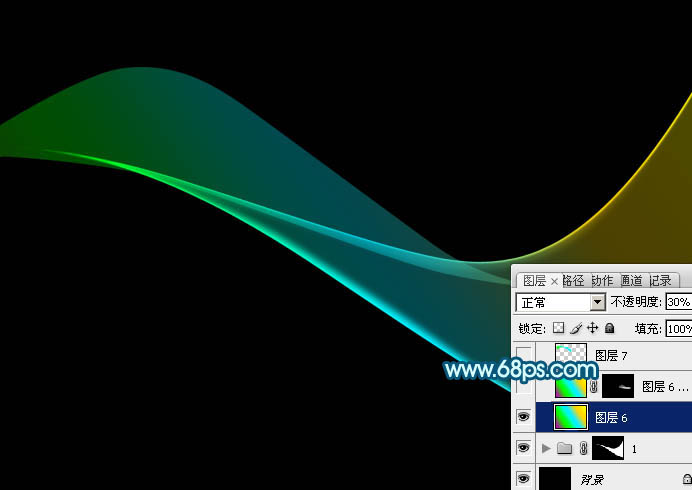
10、在组里新建一个图层,按Ctrl + V 把复制的底色图层粘贴进来,不透明度改为:30%,效果如下图。
<图11>
11、把当前图层复制一层,不透明度改为:100%,按住Alt键添加图层蒙版,用透明度较低的白色画笔把顶部擦出来,如下图。
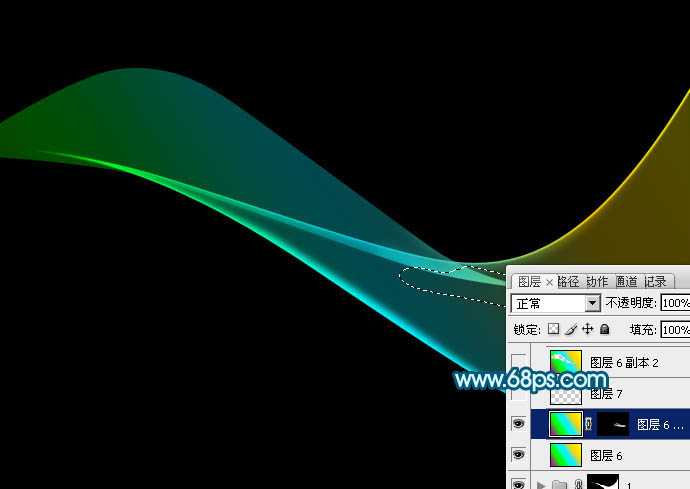
<图12>
12、回到底色图层,用钢笔勾出底部边缘的高光选区,羽化4个像素后按Ctrl + J 复制到新的图层,效果如下图。
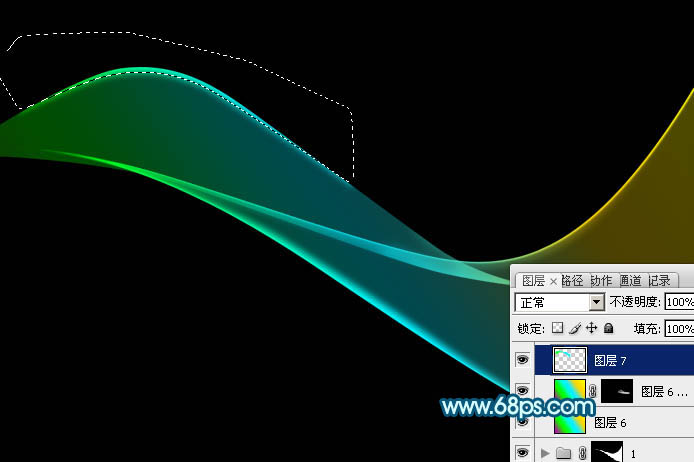
<图13>
13、把底色图层复制一层,不透明度改为:100%,调出当前组的蒙版选区,切换到选框工具后把选区,把选区往上移2个像素,按Delete删除,效果如下图。
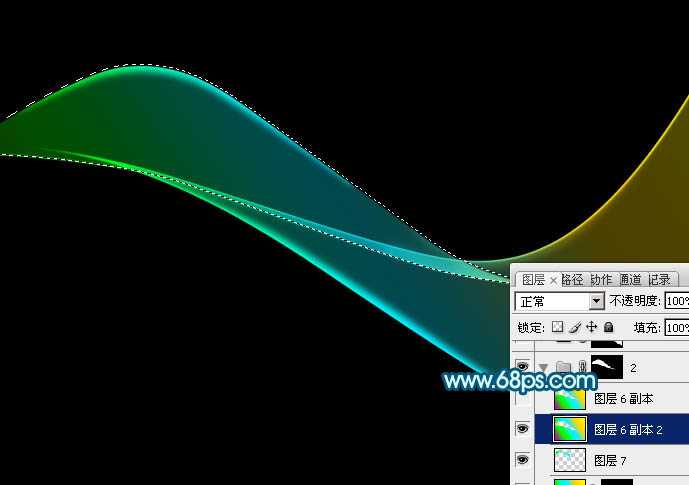
<图14>
14、把底色图层复制一层,不透明度改为:100%,调出当前组的蒙版选区,切换到选框工具后把选区,把选区往下移2个像素,按Delete删除,效果如下图。
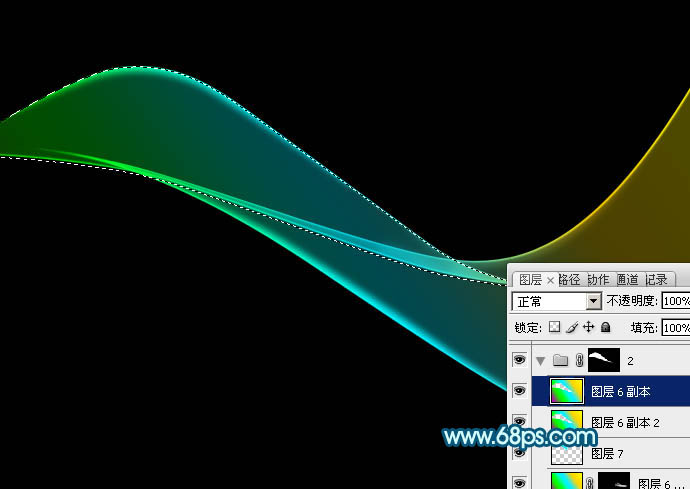
<图15>
15、第二条光束做好的效果如下图。

<图16>
16、新建组,同上的方法制作其它光束,过程如图17 - 22。
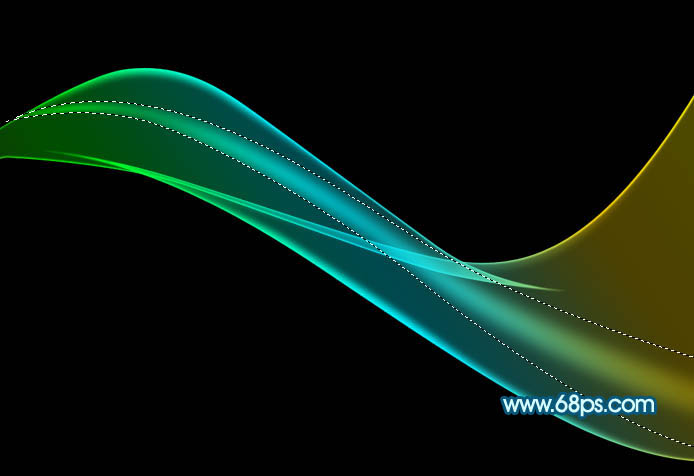
<图17>

<图18>
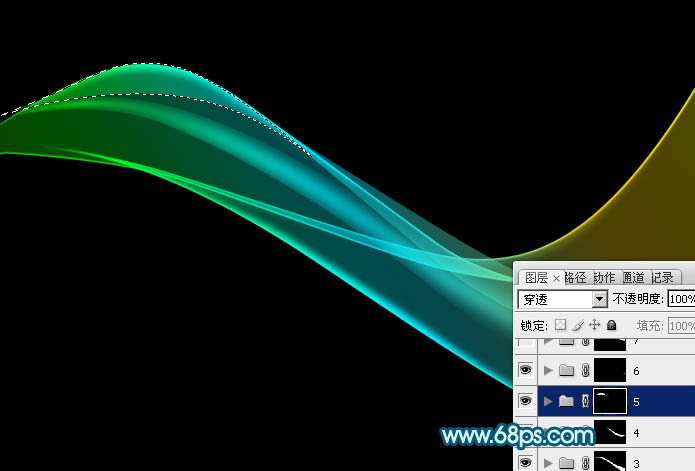
<图19>
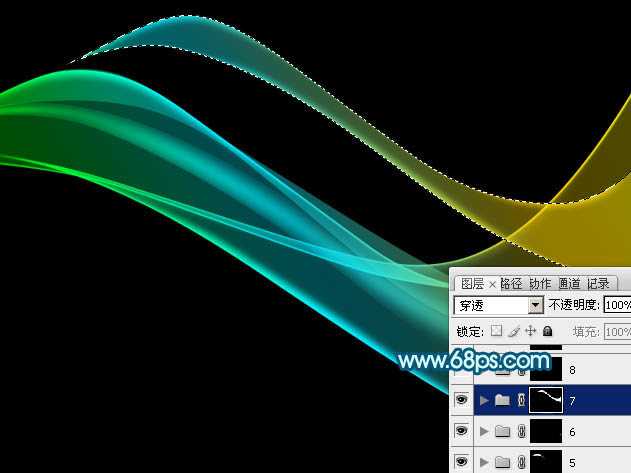
<图20>
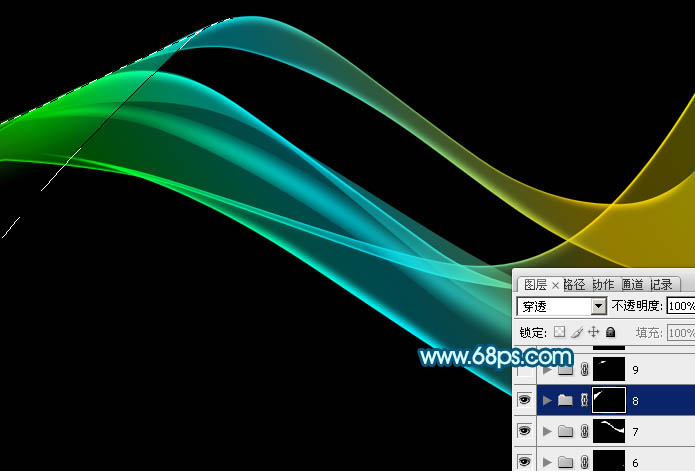
<图21>

<图22>
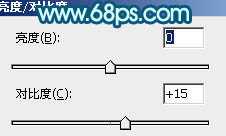
17、创建亮度/对比度调整图层,适当增加图片对比度,参数及效果如下图。
<图23>

<图24>
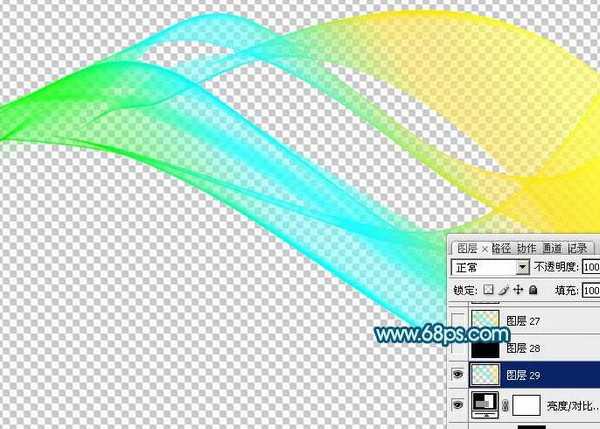
18、把背景图层隐藏,在图层的最上面新建一个图层,按Ctrl + Alt + Shift + E 盖印图层。
<图25>
19、在当前图层的下面新建一个图层填充黑色。然后把盖印后的光束图层复制几层,适当变形做出自己想要的效果。

<图26>
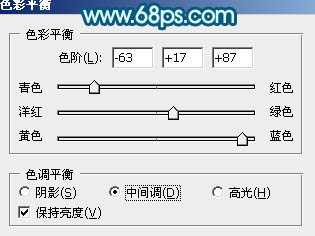
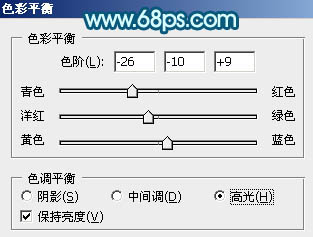
20、创建色彩平衡调整图层,对中间调,高光进行调整,参数及效果如下图。
<图27>
<图28>

<图29>
最后调整一下细节,完成最终效果。

最终效果

1、新建一个1024 * 768像素的文件,背景填充黑色。先来制作光束的主体部分,需要完成的效果如下图。

<图1>
2、新建一个组,用钢笔勾出第一条光束的轮廓路径,转为选区后给组添加图层蒙版,如下图。

<图2>
3、在组里新建一个图层,选择渐变工具,颜色设置如图3,拉出图4所示的线性渐变作为光束的底色。这个图层比较重要,后面会重复使用。

<图3>

<图4>
4、把当前图层的不透明度改为:30%,效果如下图。

<图5>
5、用钢笔勾出上部边缘的高光选区,羽化4个像素后按Ctrl + J 复制到新的图层,不透明度改为:30%,效果如下图。

<图6>
6、回到渐变图层,用钢笔勾出底部边缘的高光选区,羽化4个像素后按Ctrl + J 把选区部分的色块复制到新的图层,不透明度改为:100%,效果如下图。

<图7>
7、调出当前组蒙版选区,切换到选框工具,把选区稍微往下移2个像素,按Ctrl + Shift + I 反选,回到渐变底色图层,按Ctrl + J 把选区部分的色块复制到新的图层,效果如下图。

<图8>
8、第一条光束完成的效果如下图。

<图9>
9、选择底色渐变图层,按Ctrl + A全选,按Ctrl + C 复制。然后新建一个组,用钢笔勾出第二条光束的轮廓,给组添加图层蒙版,如下图。

<图10>
10、在组里新建一个图层,按Ctrl + V 把复制的底色图层粘贴进来,不透明度改为:30%,效果如下图。

<图11>
11、把当前图层复制一层,不透明度改为:100%,按住Alt键添加图层蒙版,用透明度较低的白色画笔把顶部擦出来,如下图。

<图12>
12、回到底色图层,用钢笔勾出底部边缘的高光选区,羽化4个像素后按Ctrl + J 复制到新的图层,效果如下图。

<图13>
13、把底色图层复制一层,不透明度改为:100%,调出当前组的蒙版选区,切换到选框工具后把选区,把选区往上移2个像素,按Delete删除,效果如下图。

<图14>
14、把底色图层复制一层,不透明度改为:100%,调出当前组的蒙版选区,切换到选框工具后把选区,把选区往下移2个像素,按Delete删除,效果如下图。

<图15>
15、第二条光束做好的效果如下图。

<图16>
16、新建组,同上的方法制作其它光束,过程如图17 - 22。

<图17>

<图18>

<图19>

<图20>

<图21>

<图22>
17、创建亮度/对比度调整图层,适当增加图片对比度,参数及效果如下图。

<图23>

<图24>
18、把背景图层隐藏,在图层的最上面新建一个图层,按Ctrl + Alt + Shift + E 盖印图层。

<图25>
19、在当前图层的下面新建一个图层填充黑色。然后把盖印后的光束图层复制几层,适当变形做出自己想要的效果。

<图26>
20、创建色彩平衡调整图层,对中间调,高光进行调整,参数及效果如下图。

<图27>

<图28>

<图29>
最后调整一下细节,完成最终效果。

兴国资源网 Design By www.nnzcdc.com
广告合作:本站广告合作请联系QQ:858582 申请时备注:广告合作(否则不回)
免责声明:本站资源来自互联网收集,仅供用于学习和交流,请遵循相关法律法规,本站一切资源不代表本站立场,如有侵权、后门、不妥请联系本站删除!
免责声明:本站资源来自互联网收集,仅供用于学习和交流,请遵循相关法律法规,本站一切资源不代表本站立场,如有侵权、后门、不妥请联系本站删除!
兴国资源网 Design By www.nnzcdc.com
暂无评论...
P70系列延期,华为新旗舰将在下月发布
3月20日消息,近期博主@数码闲聊站 透露,原定三月份发布的华为新旗舰P70系列延期发布,预计4月份上市。
而博主@定焦数码 爆料,华为的P70系列在定位上已经超过了Mate60,成为了重要的旗舰系列之一。它肩负着重返影像领域顶尖的使命。那么这次P70会带来哪些令人惊艳的创新呢?
根据目前爆料的消息来看,华为P70系列将推出三个版本,其中P70和P70 Pro采用了三角形的摄像头模组设计,而P70 Art则采用了与上一代P60 Art相似的不规则形状设计。这样的外观是否好看见仁见智,但辨识度绝对拉满。
更新日志
2025年02月27日
2025年02月27日
- 小骆驼-《草原狼2(蓝光CD)》[原抓WAV+CUE]
- 群星《欢迎来到我身边 电影原声专辑》[320K/MP3][105.02MB]
- 群星《欢迎来到我身边 电影原声专辑》[FLAC/分轨][480.9MB]
- 雷婷《梦里蓝天HQⅡ》 2023头版限量编号低速原抓[WAV+CUE][463M]
- 群星《2024好听新歌42》AI调整音效【WAV分轨】
- 王思雨-《思念陪着鸿雁飞》WAV
- 王思雨《喜马拉雅HQ》头版限量编号[WAV+CUE]
- 李健《无时无刻》[WAV+CUE][590M]
- 陈奕迅《酝酿》[WAV分轨][502M]
- 卓依婷《化蝶》2CD[WAV+CUE][1.1G]
- 群星《吉他王(黑胶CD)》[WAV+CUE]
- 齐秦《穿乐(穿越)》[WAV+CUE]
- 发烧珍品《数位CD音响测试-动向效果(九)》【WAV+CUE】
- 邝美云《邝美云精装歌集》[DSF][1.6G]
- 吕方《爱一回伤一回》[WAV+CUE][454M]
