兴国资源网 Design By www.nnzcdc.com
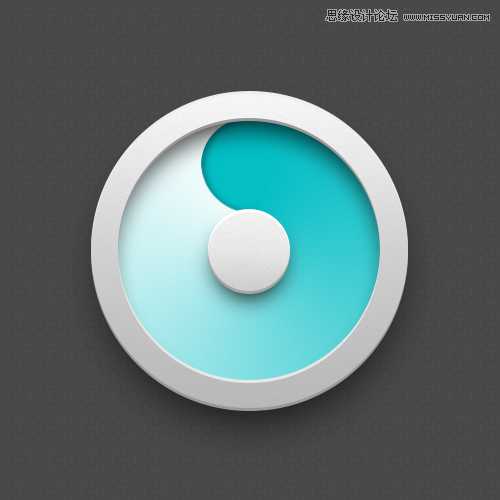
本教程主要使用Photoshop设计蓝色立体效果的圆形图标,经常看到有人问这种圆型icon要怎么做,觉得很有趣稍微思考一下原理,做了个简易快速版本。
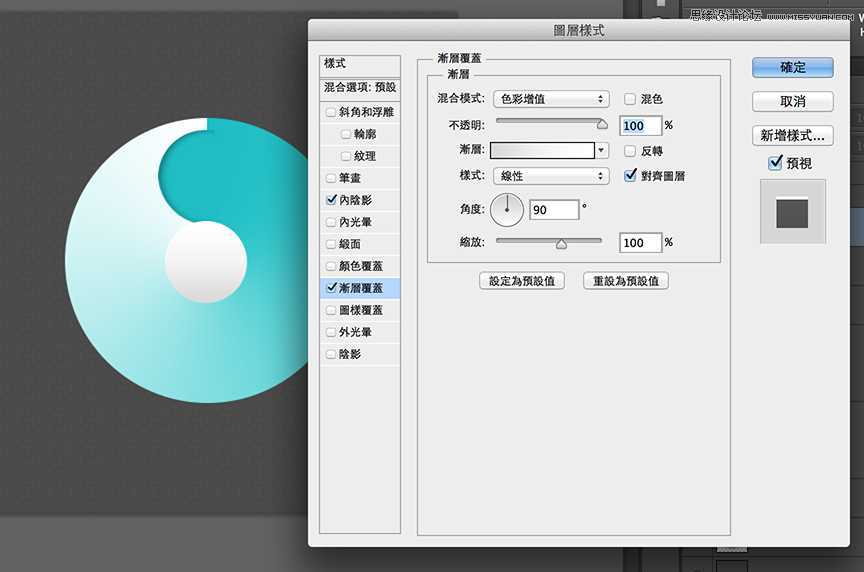
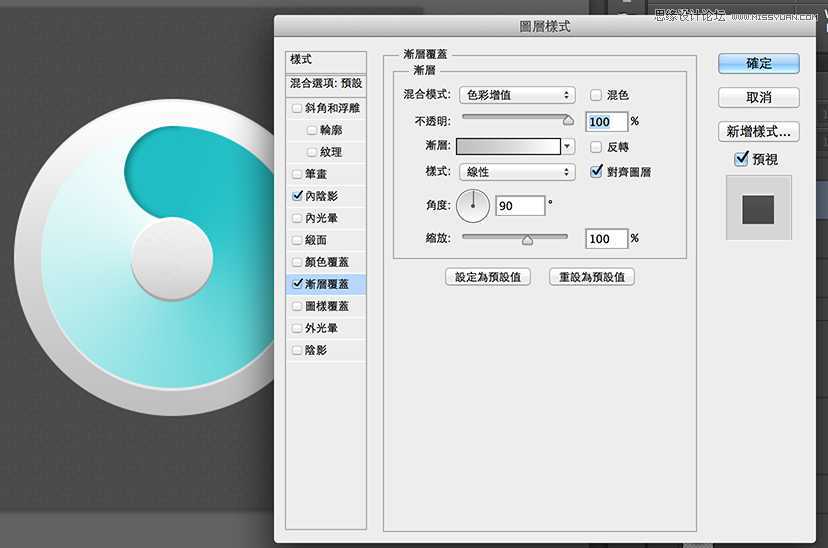
中间的渐层色
画一个圆,设图层样式,角度。

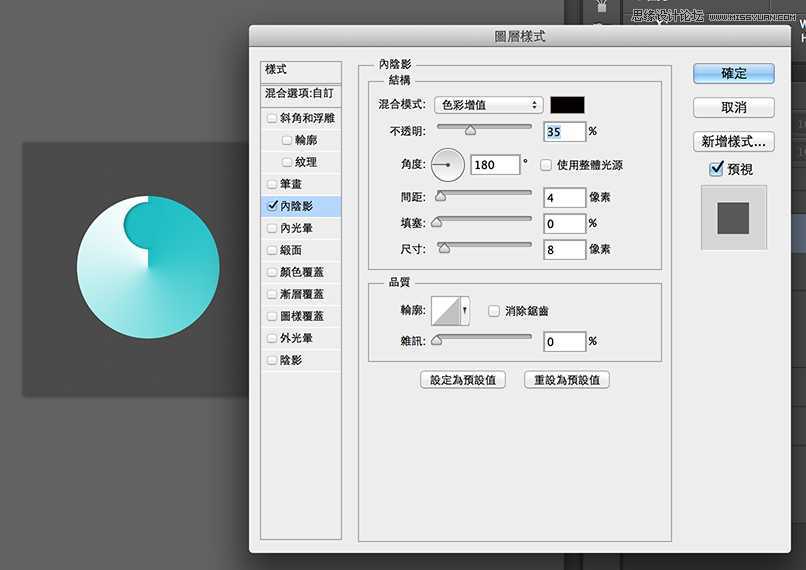
凹进去的部份
其实是用迭的,再画一个半圆,设内阴影。
中心
画一个圆,用图层样式设定,一层就能解决厚度和高光问题。


外框
用形状工具、重迭两个圆画出圆环。同样用图层样式设定,一层就解决厚度和高光。


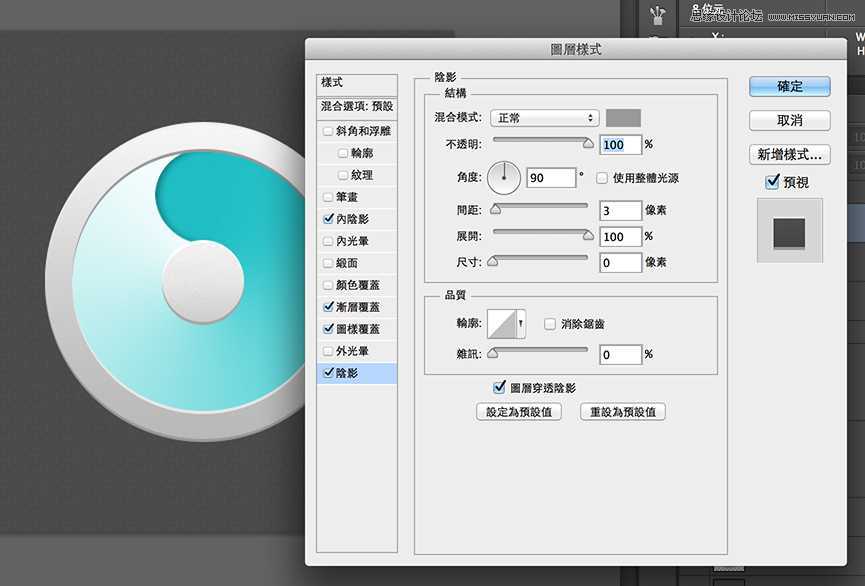
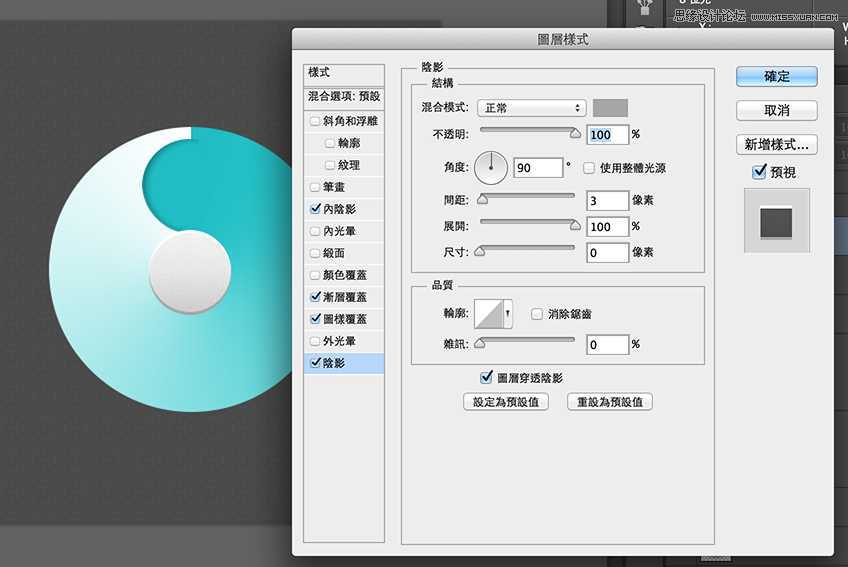
阴影
复制需要阴影的那个图层、高斯模糊,复制一层略缩小85%,调整透明度和重迭部份,阴影会比较立体。共有外框、中心、整体这 3 个部份要处理。

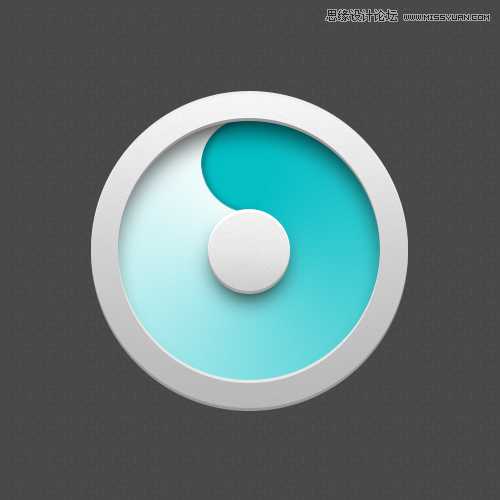

如果这颗ICON小于300x300px 、又不是主力ICON只是个配角、且走扁平化风格的话,用图层样式一层解决高光和厚度是很方便快速的作法。但如果是拟物风就得把这几层拆开独立制作。比较有趣的部份是「角度渐层」,平时很少使用这种渐层方式、明明是凹陷的部份却以迭加一个圆的方式制造假阴影也扭转平时的作图想法。果然多临摹大师作品可以学到很多不同的思维方式。
中间的渐层色
画一个圆,设图层样式,角度。
凹进去的部份
其实是用迭的,再画一个半圆,设内阴影。
中心
画一个圆,用图层样式设定,一层就能解决厚度和高光问题。
外框
用形状工具、重迭两个圆画出圆环。同样用图层样式设定,一层就解决厚度和高光。
阴影
复制需要阴影的那个图层、高斯模糊,复制一层略缩小85%,调整透明度和重迭部份,阴影会比较立体。共有外框、中心、整体这 3 个部份要处理。
如果这颗ICON小于300x300px 、又不是主力ICON只是个配角、且走扁平化风格的话,用图层样式一层解决高光和厚度是很方便快速的作法。但如果是拟物风就得把这几层拆开独立制作。比较有趣的部份是「角度渐层」,平时很少使用这种渐层方式、明明是凹陷的部份却以迭加一个圆的方式制造假阴影也扭转平时的作图想法。果然多临摹大师作品可以学到很多不同的思维方式。
兴国资源网 Design By www.nnzcdc.com
广告合作:本站广告合作请联系QQ:858582 申请时备注:广告合作(否则不回)
免责声明:本站资源来自互联网收集,仅供用于学习和交流,请遵循相关法律法规,本站一切资源不代表本站立场,如有侵权、后门、不妥请联系本站删除!
免责声明:本站资源来自互联网收集,仅供用于学习和交流,请遵循相关法律法规,本站一切资源不代表本站立场,如有侵权、后门、不妥请联系本站删除!
兴国资源网 Design By www.nnzcdc.com
暂无评论...
P70系列延期,华为新旗舰将在下月发布
3月20日消息,近期博主@数码闲聊站 透露,原定三月份发布的华为新旗舰P70系列延期发布,预计4月份上市。
而博主@定焦数码 爆料,华为的P70系列在定位上已经超过了Mate60,成为了重要的旗舰系列之一。它肩负着重返影像领域顶尖的使命。那么这次P70会带来哪些令人惊艳的创新呢?
根据目前爆料的消息来看,华为P70系列将推出三个版本,其中P70和P70 Pro采用了三角形的摄像头模组设计,而P70 Art则采用了与上一代P60 Art相似的不规则形状设计。这样的外观是否好看见仁见智,但辨识度绝对拉满。
更新日志
2025年02月27日
2025年02月27日
- 小骆驼-《草原狼2(蓝光CD)》[原抓WAV+CUE]
- 群星《欢迎来到我身边 电影原声专辑》[320K/MP3][105.02MB]
- 群星《欢迎来到我身边 电影原声专辑》[FLAC/分轨][480.9MB]
- 雷婷《梦里蓝天HQⅡ》 2023头版限量编号低速原抓[WAV+CUE][463M]
- 群星《2024好听新歌42》AI调整音效【WAV分轨】
- 王思雨-《思念陪着鸿雁飞》WAV
- 王思雨《喜马拉雅HQ》头版限量编号[WAV+CUE]
- 李健《无时无刻》[WAV+CUE][590M]
- 陈奕迅《酝酿》[WAV分轨][502M]
- 卓依婷《化蝶》2CD[WAV+CUE][1.1G]
- 群星《吉他王(黑胶CD)》[WAV+CUE]
- 齐秦《穿乐(穿越)》[WAV+CUE]
- 发烧珍品《数位CD音响测试-动向效果(九)》【WAV+CUE】
- 邝美云《邝美云精装歌集》[DSF][1.6G]
- 吕方《爱一回伤一回》[WAV+CUE][454M]