兴国资源网 Design By www.nnzcdc.com
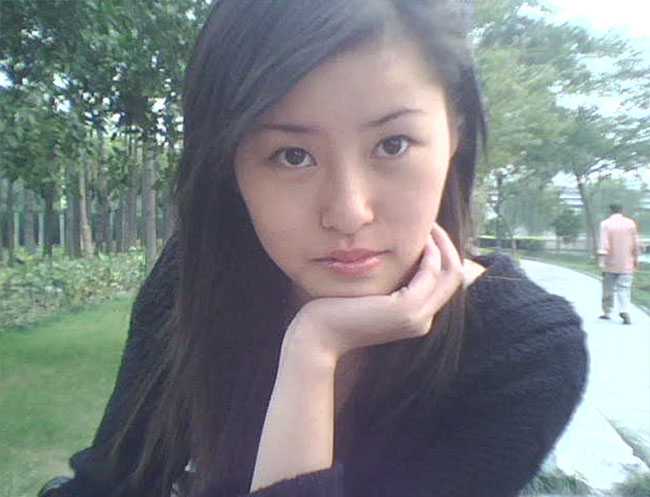
原图
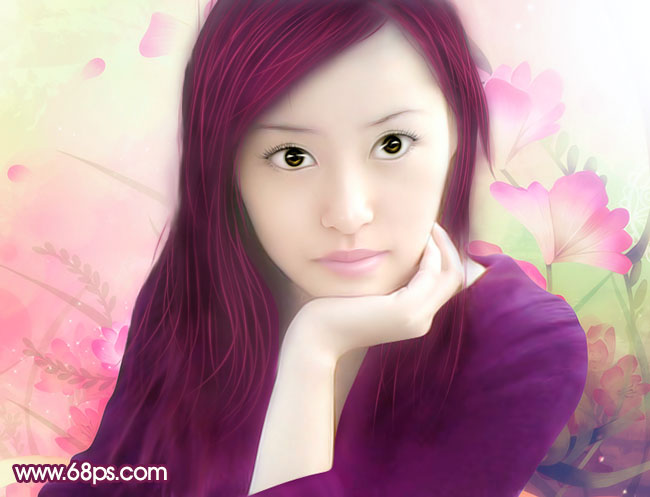
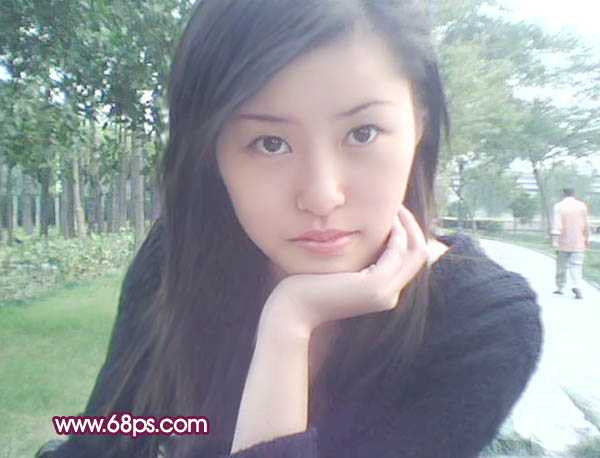
最终效果
1、打开原图素材,把背景图层复制一层,图层混合模式改为“滤色”,图层不透明度改为:50%,如下图。这一步简单把图片调亮一点。
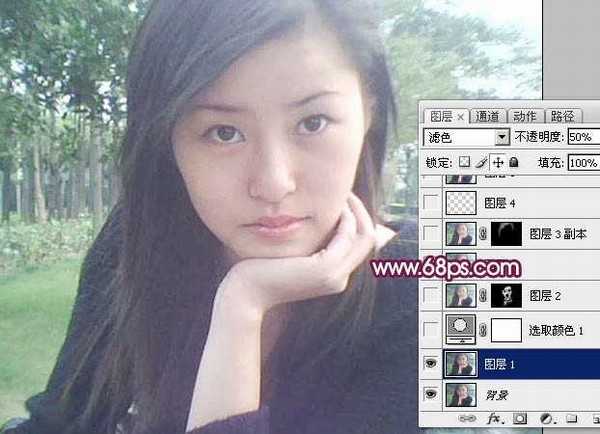
<图1>
2、创建可选颜色调整图层,对红色进行调整,参数设置如图2,效果如图3。
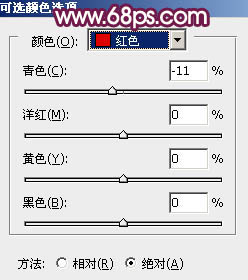
<图2>

<图3>
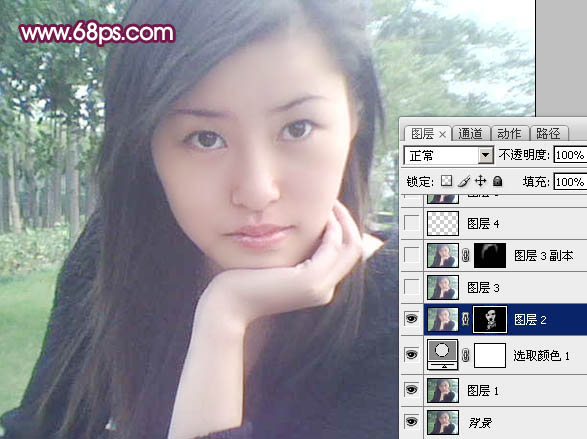
3、粗略的给人物磨皮,可以选择自己熟悉的方法。这里还是选用老方法,新建一个图层,按Ctrl + Alt + Shift + E 盖印图层。执行:滤镜 > 模糊 > 高斯模糊,数值为4,确定后按住Alt 键添加图层蒙版,用透明度为:30%的白色画笔涂抹人物脸部及肤色部分有杂色的部分,大致效果如下图。
<图4>
4、新建一个图层,选择加深工具,曝光度为:10%左右,把人物头发部分稍微加深处理。
<图5>
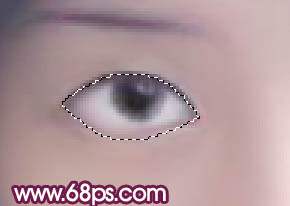
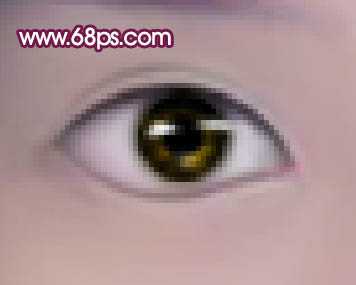
5、新建一个图层,盖印图层。现在开始处理左眼,用钢笔勾出眼部轮廓选区如图6,选择加深工具稍微把边缘部分加深一点,选择减淡工具把眼白部分涂亮一点。
新建图层用钢笔勾出眼线及双眼皮的路径适当描边路径做出眼线及双眼皮。再新建一个图层做出眼珠,效果如图7。眼部处理有很多专门的教程介绍过,这里就不详述了。
<图6>
<图7>
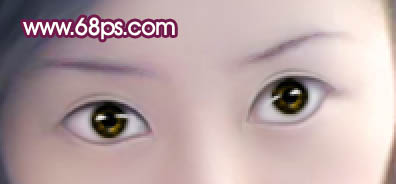
6、右眼的处理方法一样,效果如下图。刚做好的眼睛可能会特别明显,先不要管这些,等五官部分都处理好后再处理细节。
<图8>
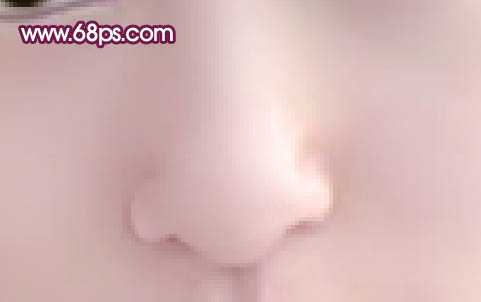
7、新建一个图层,盖印图层。处理鼻子部分。用钢笔把鼻子轮廓抠出来,转为选区后把边缘部分加深一点,用涂抹工具把鼻子及周围涂抹干净,大致效果如下图。
<图9>
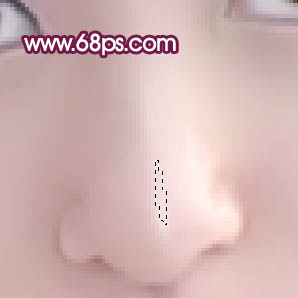
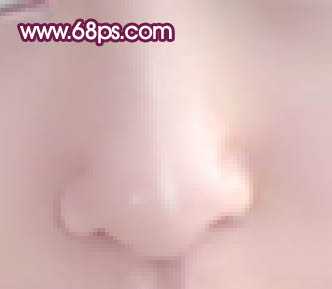
8、新建一个图层,制作鼻子部分的高光,用钢笔勾出高光部分的选区如图10,羽化1个像素后填充白色,取消选区后加上图层蒙版,用黑色画笔把需要透明度的部分涂出来,如图10。新建一个图层,用白色画笔在鼻尖偏左部分点一点白点,如图11。
<图10>
<图11>
9、新建一个图层,盖印图层。开始处理嘴部,选择模糊工具把嘴唇模糊处理如下图。

<图12>
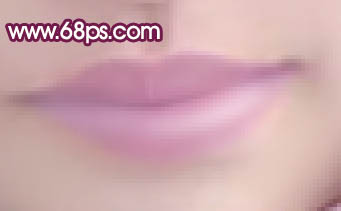
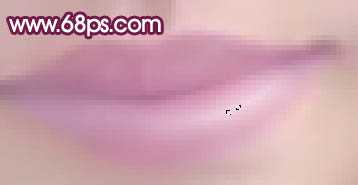
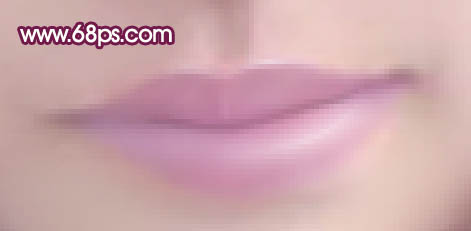
10、新建一个图层,同上的方法制作嘴唇的高光及中间暗调部分,如图13 - 16。

<图13>
<图14>
<图15>
<图16>
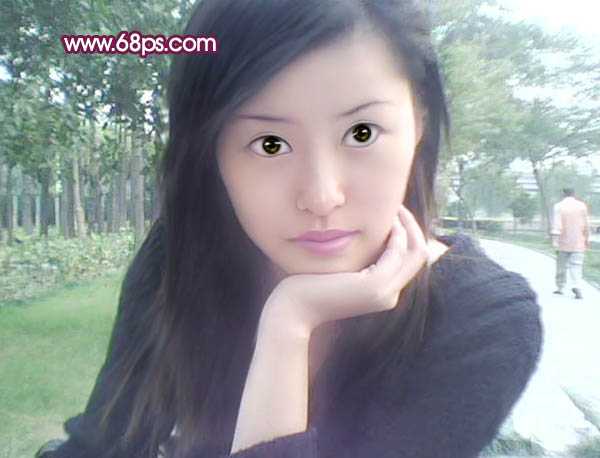
11、五官部分大致完成的效果如下图。
<图17>
12、创建亮度/对比度调整图层,参数设置如图18,确定后用黑色画笔把曝光过度的部分擦出来,如图19。
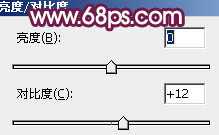
<图18>
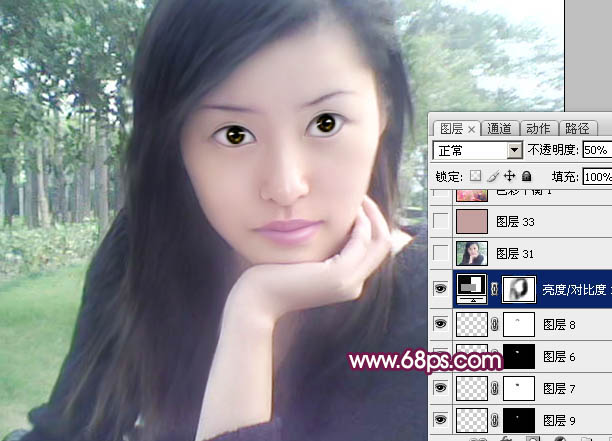
<图19>
13、新建一个图层,盖印图层。用钢笔工具把人物部分抠出来,复制到新建的图层。再打开下图所示的背景素材,拖进来,效果如图21。

<图20 点小图查看大图>
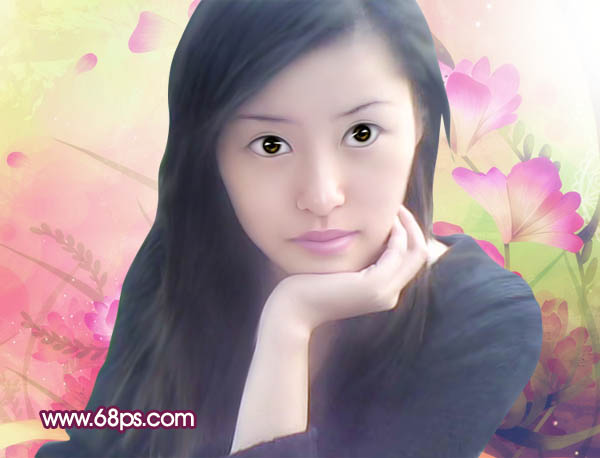
<图21>
上一页12 下一页 阅读全文

最终效果

1、打开原图素材,把背景图层复制一层,图层混合模式改为“滤色”,图层不透明度改为:50%,如下图。这一步简单把图片调亮一点。

<图1>
2、创建可选颜色调整图层,对红色进行调整,参数设置如图2,效果如图3。

<图2>

<图3>
3、粗略的给人物磨皮,可以选择自己熟悉的方法。这里还是选用老方法,新建一个图层,按Ctrl + Alt + Shift + E 盖印图层。执行:滤镜 > 模糊 > 高斯模糊,数值为4,确定后按住Alt 键添加图层蒙版,用透明度为:30%的白色画笔涂抹人物脸部及肤色部分有杂色的部分,大致效果如下图。

<图4>
4、新建一个图层,选择加深工具,曝光度为:10%左右,把人物头发部分稍微加深处理。

<图5>
5、新建一个图层,盖印图层。现在开始处理左眼,用钢笔勾出眼部轮廓选区如图6,选择加深工具稍微把边缘部分加深一点,选择减淡工具把眼白部分涂亮一点。
新建图层用钢笔勾出眼线及双眼皮的路径适当描边路径做出眼线及双眼皮。再新建一个图层做出眼珠,效果如图7。眼部处理有很多专门的教程介绍过,这里就不详述了。

<图6>

<图7>
6、右眼的处理方法一样,效果如下图。刚做好的眼睛可能会特别明显,先不要管这些,等五官部分都处理好后再处理细节。

<图8>
7、新建一个图层,盖印图层。处理鼻子部分。用钢笔把鼻子轮廓抠出来,转为选区后把边缘部分加深一点,用涂抹工具把鼻子及周围涂抹干净,大致效果如下图。

<图9>
8、新建一个图层,制作鼻子部分的高光,用钢笔勾出高光部分的选区如图10,羽化1个像素后填充白色,取消选区后加上图层蒙版,用黑色画笔把需要透明度的部分涂出来,如图10。新建一个图层,用白色画笔在鼻尖偏左部分点一点白点,如图11。

<图10>

<图11>
9、新建一个图层,盖印图层。开始处理嘴部,选择模糊工具把嘴唇模糊处理如下图。

<图12>
10、新建一个图层,同上的方法制作嘴唇的高光及中间暗调部分,如图13 - 16。

<图13>

<图14>

<图15>

<图16>
11、五官部分大致完成的效果如下图。

<图17>
12、创建亮度/对比度调整图层,参数设置如图18,确定后用黑色画笔把曝光过度的部分擦出来,如图19。

<图18>

<图19>
13、新建一个图层,盖印图层。用钢笔工具把人物部分抠出来,复制到新建的图层。再打开下图所示的背景素材,拖进来,效果如图21。

<图20 点小图查看大图>

<图21>
上一页12 下一页 阅读全文
兴国资源网 Design By www.nnzcdc.com
广告合作:本站广告合作请联系QQ:858582 申请时备注:广告合作(否则不回)
免责声明:本站资源来自互联网收集,仅供用于学习和交流,请遵循相关法律法规,本站一切资源不代表本站立场,如有侵权、后门、不妥请联系本站删除!
免责声明:本站资源来自互联网收集,仅供用于学习和交流,请遵循相关法律法规,本站一切资源不代表本站立场,如有侵权、后门、不妥请联系本站删除!
兴国资源网 Design By www.nnzcdc.com
暂无评论...
更新日志
2025年02月24日
2025年02月24日
- 小骆驼-《草原狼2(蓝光CD)》[原抓WAV+CUE]
- 群星《欢迎来到我身边 电影原声专辑》[320K/MP3][105.02MB]
- 群星《欢迎来到我身边 电影原声专辑》[FLAC/分轨][480.9MB]
- 雷婷《梦里蓝天HQⅡ》 2023头版限量编号低速原抓[WAV+CUE][463M]
- 群星《2024好听新歌42》AI调整音效【WAV分轨】
- 王思雨-《思念陪着鸿雁飞》WAV
- 王思雨《喜马拉雅HQ》头版限量编号[WAV+CUE]
- 李健《无时无刻》[WAV+CUE][590M]
- 陈奕迅《酝酿》[WAV分轨][502M]
- 卓依婷《化蝶》2CD[WAV+CUE][1.1G]
- 群星《吉他王(黑胶CD)》[WAV+CUE]
- 齐秦《穿乐(穿越)》[WAV+CUE]
- 发烧珍品《数位CD音响测试-动向效果(九)》【WAV+CUE】
- 邝美云《邝美云精装歌集》[DSF][1.6G]
- 吕方《爱一回伤一回》[WAV+CUE][454M]
